Vibe Lashes
Fantasy Lashes
Fantasy Lashes
50 in stock
Couldn't load pickup availability
Fantasy are part of our 'Mega Collection'. For shorter length lashes from the same collection, check out Dreamy.
Each tray contains:
- 6 rows of lash clusters total
- 2 rows of lash clusters per size
- 2 rows x 12mm, 2 rows x 14mm, 2 rows x 16mm
What Are DIY Lashes?
What Are DIY Lashes?
DIY lashes, short for "Do It Yourself Lashes," are a revolutionary beauty trend that empowers individuals to enhance their eye allure with customizable eyelash extensions from the comfort of their own home. These ingenious lash kits have gained immense popularity for their affordability, convenience, and the ability to achieve stunning, salon-quality results without the need for professional application.
Key Features of DIY Lashes:
1. Customizability: DIY lash kits offer a wide array of lash styles, lengths, and densities, allowing you to tailor your look to your specific preferences. Whether you desire a subtle, natural enhancement or bold, dramatic glam, DIY lashes can help you achieve the perfect look.
2. Easy Application: DIY lashes come with user-friendly instructions, making them accessible for individuals of all skill levels. The application process involves applying our specially formulated adhesive to your natural lashes and attaching the extensions. With a little practice, you can master the technique and achieve salon-worthy results.
3. Affordability: DIY lashes are a cost-effective alternative to regular salon appointments, eliminating the need for ongoing professional lash extensions. Our kits offer a budget-friendly way to maintain a stunning lash look.
4. Versatility: DIY lashes are versatile and can be worn for various occasions, from everyday wear to special events. They are available in different materials, including mink, silk, and synthetic options, each with its unique texture and appearance.
5. Long-Lasting: When applied correctly, DIY lashes can last for one week plus, ensuring that you enjoy your enhanced lash look for an extended period. And our kits include enough extensions for multiple applications, and can even be cleaned and reused.
6. Eye-Enhancing: DIY lashes not only add volume and length but also open up your eyes, making them appear more prominent and captivating. They can be a game-changer for those looking to accentuate their eye makeup and create a captivating gaze.
7. Safe and Hypoallergenic: Our DIY lash kits are made from hypoallergenic materials and gentle adhesive, minimizing the risk of irritation or allergic reactions. It's essential to follow the instructions carefully to ensure a safe application.
8. Removal: DIY lashes can be easily removed using our special lash adhesive remover, providing a hassle-free experience when you're ready for a change.
In summary, DIY lashes have transformed the beauty industry by offering an accessible, customizable, and cost-effective solution for achieving luxurious eyelash extensions at home. Whether you're a beauty enthusiast looking to experiment with various lash styles or someone seeking a convenient and affordable way to enhance your natural beauty, DIY lashes are the perfect addition to your beauty routine. Elevate your look, captivate with your eyes, and embrace the world of DIY lashes for an instant beauty boost.
How Do I Apply DIY Lashes?
How Do I Apply DIY Lashes?
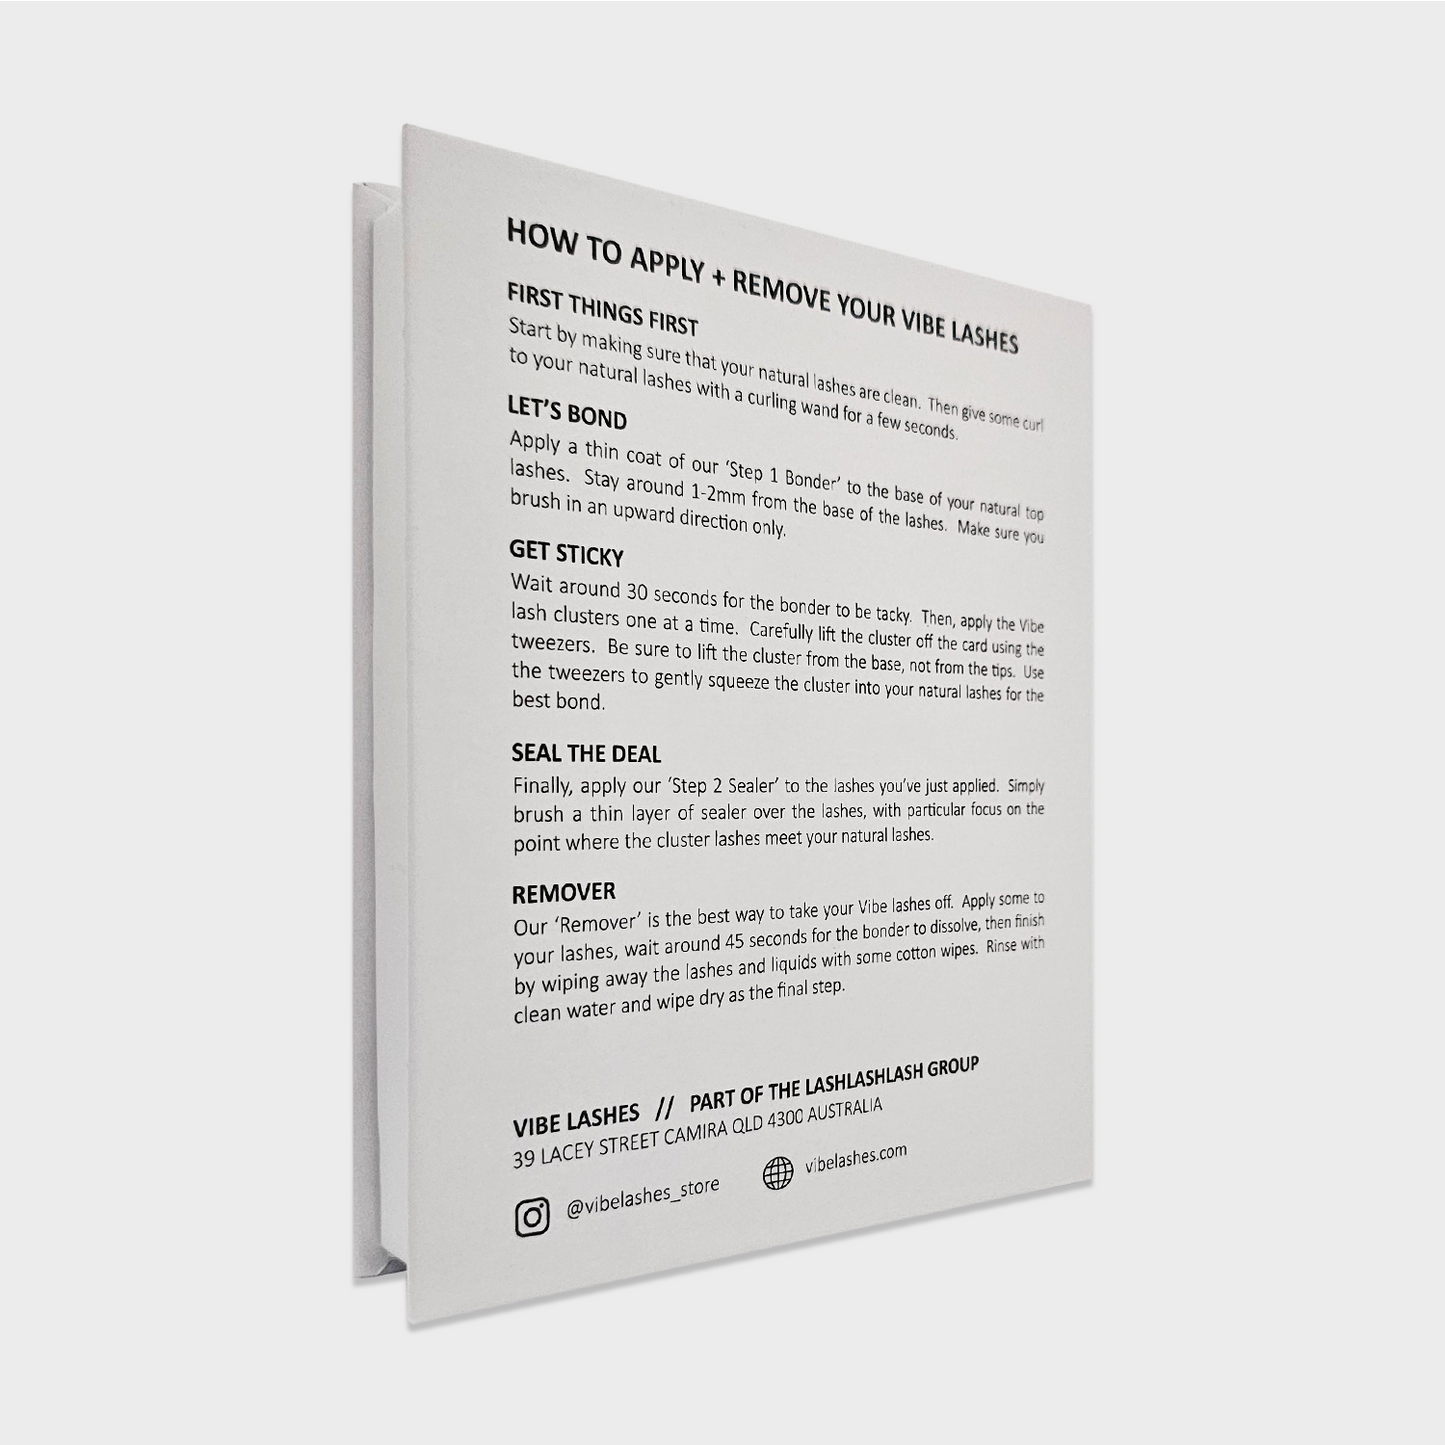
Using DIY lashes, also known as do-it-yourself false eyelashes, can be a fantastic way to enhance your eye makeup and add a touch of drama to your overall look. Whether you're new to using false lashes or an experienced pro, here's a step-by-step guide on how to use DIY lashes effectively:
1. First Things First: Start by preparing your natural lashes. The best bonds are made with clean lashes, so make sure your lashes are clean and free of makeup and oils. Then give your natural lashes some curl with a lash curler, as this makes applying your Vibe lashes easier.
2. Let's Bond: Next, apply a thin, even coat of our ‘Step 1 Bonder’ to the base of your natural top eyelid lashes. Stay around 1-2mm from the base of the lashes. And to avoid having your natural lashes stick together, brush the bonder on in one outward direction only.
3. Get Sticky: Wait around 30 seconds for the bonder to be tacky. Then, starting from the inner corner of your eye, apply the Vibe lash clusters one at a time. Carefully lift the cluster off the card using the tweezers. Be sure to lift the cluster from the base, not from the tips. Place the cluster under your natural lashes, again around 1-2mm from the base so as to avoid irritation. Then, use the tweezers to gently squeeze the cluster into your natural lashes for the best bond. Repeat this process for each cluster until the upper eyelid has a full set of lashes. Then move onto the next eye, and do all steps above in the same way.
4. Seal the Deal: The final action is to apply our ‘Step 2 Sealer’ to the lashes you’ve just applied. The sealer acts to lock in the bond, help with water resistance, and to clean up any stickiness you may feel. Simply brush a thin layer of sealer over the lashes, with particular focus on the point where the cluster lashes meet your natural lashes.
5. Remover: Our ‘Remover’ makes quick work of taking your Vibe lashes off. Just apply some to the base of you cluster lashes, allow around 45 seconds for the bonder to dissolve, then finish by wiping away the lashes and liquids with some cotton wipes. Repeat this as necessary until your lashes are clean of residue, then rinse with clean water and wipe dry as the final step.
Using DIY lashes might take some practice, so don't be discouraged if it's not perfect the first time. With time and experience, you'll become more proficient in applying them, and you'll be able to enjoy the stunning, dramatic look that false lashes can offer.


